
July 2, 2026
Plumbing installation is one of the most critical systems in any home — and getting it right from the start saves thousands of dollars down the road.
Quick answer: What does plumbing installation involve?
A 2024 HomeServe survey found that 3 out of 4 U.S. homeowners faced a home repair emergency in the past year — and plumbing problems ranked among the most common causes. Most of those emergencies trace back to one thing: installation that wasn’t done correctly the first time.
Whether you’re building new in Boise, remodeling a bathroom in Meridian, or replacing aging pipes in Eagle, understanding how the plumbing process works helps you make smarter decisions, communicate clearly with your contractor, and avoid costly surprises.
Our team has extensive hands-on experience with plumbing installation across residential and commercial projects throughout Idaho. This guide walks you through everything — from the first blueprint review to the final fixture connection.

To understand how a professional plumbing installation comes together, it helps to look at your home’s plumbing as two distinct, parallel systems that never meet: the water supply subsystem and the drain-waste-vent (DWV) subsystem.
Think of the water supply as your home’s arteries, carrying fresh, pressurized water under tight control to every tap, shower, and appliance. The DWV system acts as the veins, using gravity to carry wastewater away and vents to keep air flowing smoothly. When we design and install these networks in local homes, we have to balance fluid mechanics, gravity, and local building codes to ensure a quiet, leak-free system.
The water supply system delivers clean, potable water throughout your home. Whether your source is municipal water or a private well, the water enters your property through a main supply line.
Right at the point of entry, we install the main water shut-off valve. This is the single most important valve in your home. If a pipe bursts or a major leak occurs, closing this valve instantly stops the flow of water to the entire property.
From the main entry point, the cold water line runs directly to your fixtures and your water heater. Once heated, hot water is routed parallel to the cold lines, delivering hot and cold water to your sinks, showers, and washing machines. Because these lines are pressurized (typically between 40 and 80 psi), we route them carefully using strong, flexible pipes and secure connections that can handle constant thermal expansion and pressure fluctuations.
The DWV subsystem is entirely different from the supply lines because it does not rely on pressure. Instead, it relies on gravity and atmospheric pressure to carry wastewater and solid waste out of your home.
This subsystem has three main parts:
Vents are the unsung heroes of home plumbing. They allow sewer gases to escape safely into the atmosphere instead of backing up into your living spaces. More importantly, they let fresh air into the drainage system. Without this air, rushing wastewater would create a vacuum inside the pipes, sucking the water out of your P-traps and leaving your home vulnerable to sewer odors. Venting maintains proper atmospheric pressure so that water flows smoothly and quietly.
Whether you are working on new construction or a major home remodel, a professional plumbing installation is completed in distinct, carefully timed phases. Getting these stages out of order can lead to torn-out drywall, structural issues, and failed building inspections.
Long before a single pipe is cut, we must finalize the planning and design phase. We start by reviewing architectural blueprints and mapping out a detailed plumbing riser diagram.
This is the time to decide exactly where your sinks, toilets, showers, washing machines, and water heaters will go. Every fixture has precise spacing requirements. For example, a standard toilet requires a “rough-in” dimension of exactly 12 inches from the finished back wall to the center of the floor drain.
Changing your mind about a fixture’s location after the walls are closed is incredibly expensive. That is why we work closely with homeowners to select fixtures and review specification sheets before we begin framing. Planning early also allows us to run larger main lines to accommodate future upgrades, like adding a basement bathroom or installing a whole-home water softener.
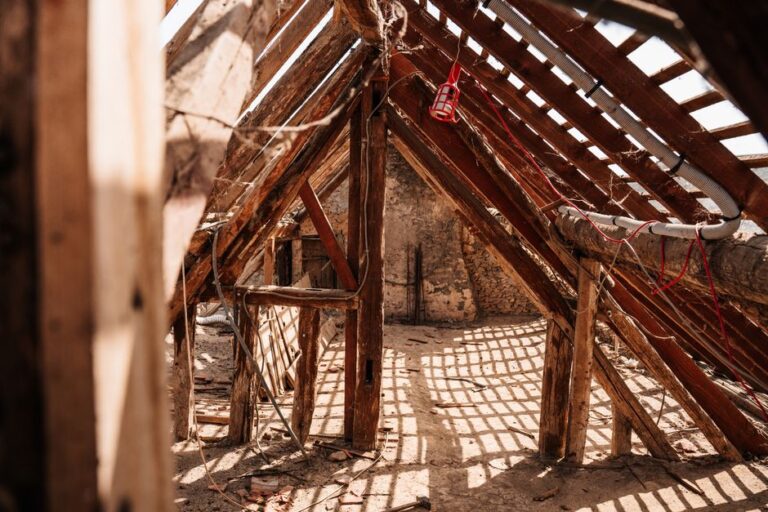
The rough-in phase occurs after the home’s wooden frame is complete but before the drywall, insulation, and flooring are installed. During this stage, we install the skeleton of your plumbing system.
We run the main drain lines, set the vent stacks through the roof, and route the hot and cold water supply lines through the wall studs and floor joists. At this point, no fixtures are attached. Instead, you will see capped pipe stubs (called “stub-outs”) poking through the wood framing where your future sinks, toilets, and showers will connect.
Because we specialize in Idaho Plumbing Services, we make sure all rough-in work complies with local structural codes. We use protective metal plates on wood studs to prevent drywall screws from accidentally puncturing your new pipes, and we secure every line to eliminate “water hammer” (the rattling sound pipes make when water is turned off suddenly).
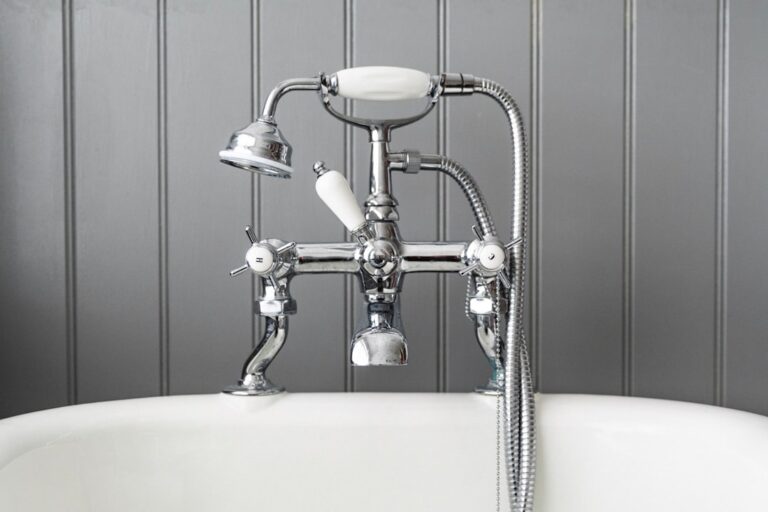
The trim-out phase is the final step, occurring after the walls are painted, the flooring is laid, and the cabinets are installed. This is where the magic happens and your house finally starts to feel like a home.
During trim-out, we install and connect:
We connect these fixtures to the stub-outs we ran during the rough-in phase. We install individual shut-off valves under every sink and toilet so you can easily isolate a single fixture for future maintenance without turning off water to the whole house. Once everything is connected, we perform extensive pressure and flow tests to ensure every joint is completely watertight.
The materials used during your plumbing installation directly impact the system’s lifespan, water quality, and resistance to freezing. Different pipes are suited for different jobs, and choosing the right one is essential.
| Material | Primary Use | Pros | Cons |
|---|---|---|---|
| PEX (Cross-linked Polyethylene) | Water Supply Lines | Extremely flexible, highly freeze-resistant, scale-resistant, fewer joints needed | Cannot be used outdoors (damaged by UV light), requires specialized connection tools |
| Copper | Water Supply & Water Heater Connections | Extremely durable, naturally antibacterial, long lifespan, handles high heat | Expensive, labor-intensive to install (requires soldering), vulnerable to acidic water |
| PVC (Polyvinyl Chloride) | Drain, Waste, & Vent (DWV) Lines | Inexpensive, lightweight, highly durable, completely rust-proof | Can be noisy when water runs through, not suitable for hot water supply |
| ABS (Acrylonitrile Butadiene Styrene) | Drain, Waste, & Vent (DWV) Lines | Stronger and more impact-resistant than PVC, easy to install | Can warp if exposed to direct sunlight, louder than PVC, not allowed in all local codes |
For modern water supply lines, PEX has largely overtaken traditional copper. PEX is a flexible plastic tubing that can be snaked through walls with minimal joints, dramatically reducing the risk of leaks. It is also highly resistant to scale buildup and freeze damage, as the material can expand slightly if water freezes inside it.
However, copper is still the gold standard for certain areas. We always use copper for the first few feet of pipe coming off a water heater because it handles high temperatures safely. When installing copper, we use lead-free solder and high-heat torches to create permanent, leak-proof joints.
For drain and vent lines, Schedule 40 PVC and ABS are the industry standards. Both materials are incredibly durable, rust-proof, and smooth on the inside, which helps prevent solid waste from snagging and causing clogs.
PVC is highly favored for its rigidity and chemical resistance, while ABS is slightly softer and easier to cut. When routing drain lines through living room walls or ceilings, we often take extra steps to install sound-deadening insulation around the pipes to reduce the sound of rushing water.
Plumbing is a regulated trade for a very good reason: poor plumbing can spread disease, contaminate municipal water supplies, and cause catastrophic property damage. Every step of a new installation must adhere strictly to the plumbing codes enforced in your local municipality.
If you are looking for licensed professionals who know these rules inside and out, our team of Nampa ID Plumbers is here to help keep your project fully compliant.
Before we cut a single pipe or dig a trench, we must pull the proper plumbing permits from the local building department. Whether you need an Eagle Idaho Plumber or are working in Meridian, local building authorities require detailed documentation for new installations or major remodels.
Permits are required for:
To obtain a permit, we submit a detailed blueprint of the plumbing layout, showing pipe sizes, materials, and riser diagrams. This ensures the system is engineered correctly before construction begins.
All permitted plumbing installations must pass at least two official inspections before they can be covered up.
The cost of a professional plumbing installation depends on several key variables, including the size of your home, the number of fixtures, and the complexity of the layout.
For new construction in our Idaho service areas, a standard plumbing installation typically ranges from $4 to $8 per square foot for core plumbing work. Major home remodels are more complex because we have to work around existing structures, pushing costs to $6 to $14 per square foot. If you are building a high-end, custom luxury home with multi-head walk-in showers and complex routing, costs can exceed $15+ per square foot.
For example, a new 2,000-square-foot home with 2.5 bathrooms and standard mid-range fixtures usually averages between $10,000 and $14,000 for the main plumbing installation.
Key factors that affect your final estimate include:
If you are planning to buy an older home or start a major remodel, check out our Pre-Purchase Leak Detection and Plumbing Tips for Smart Buyers to learn how to spot hidden plumbing issues before they become expensive problems.
With the wealth of online tutorials available, it can be tempting to treat a plumbing installation as a weekend DIY project. However, plumbing is incredibly unforgiving. A single minor mistake can slow-drip behind your walls for months, causing structural rot and toxic mold before you even notice a problem.
Here are some of the most common mistakes we see when homeowners attempt DIY plumbing:
If you are planning to install a new water heater, make sure you understand the safety and venting requirements by reading our Mastering Gas Water Heater Installation: Your DIY Handbook.
For a standard new-construction single-family home, the rough-in plumbing phase typically takes two to four days of on-site work. The final trim-out and fixture installation phase takes another one to two days once the cabinets and countertops are in place. Remodeling projects can take longer depending on how much demolition and wall modification is required.
You can, but it is highly expensive. Once the rough-in phase is complete and the inspector has signed off, the pipe locations are locked in. Moving a toilet or sink even a few feet after this stage requires tearing out framing, rerouting supply and drain lines, patching drywall, and scheduling a brand-new rough-in inspection.
The “135 rule” is an industry best practice for routing horizontal drain lines. Instead of using a single, sharp 90-degree fitting (which creates a 90-degree turn), we use two 45-degree fittings separated by a short piece of pipe. This creates a wider, gentler 135-degree sweep that allows solid waste to flow smoothly without snagging, dramatically reducing the risk of clogs.
A high-quality plumbing installation is the foundation of a safe, comfortable, and efficient home. By planning your layout early, selecting durable modern materials like PEX and PVC, and adhering strictly to local Idaho building codes, you can protect your property from water damage and enjoy strong water pressure and quiet drains for decades to come.
While small repairs can sometimes be handled over a weekend, major plumbing installations should always be left to licensed professionals. Our team at Upfront Plumbing, Drains, Heating & Air is proud to serve homeowners throughout Boise, Meridian, Nampa, Caldwell, Eagle, and Garden City. We back all our work with honest, upfront pricing, exceptional craftsmanship, and industry-leading warranties.
Ready to start your next plumbing project? Contact us today to schedule a consultation and get your home’s plumbing done right from day one!
Our licensed team is available 24/7 across the Treasure Valley.

Reach out for fast, upfront service on any plumbing, drain, or HVAC issue — no obligation.
Get a No-Obligation Quote